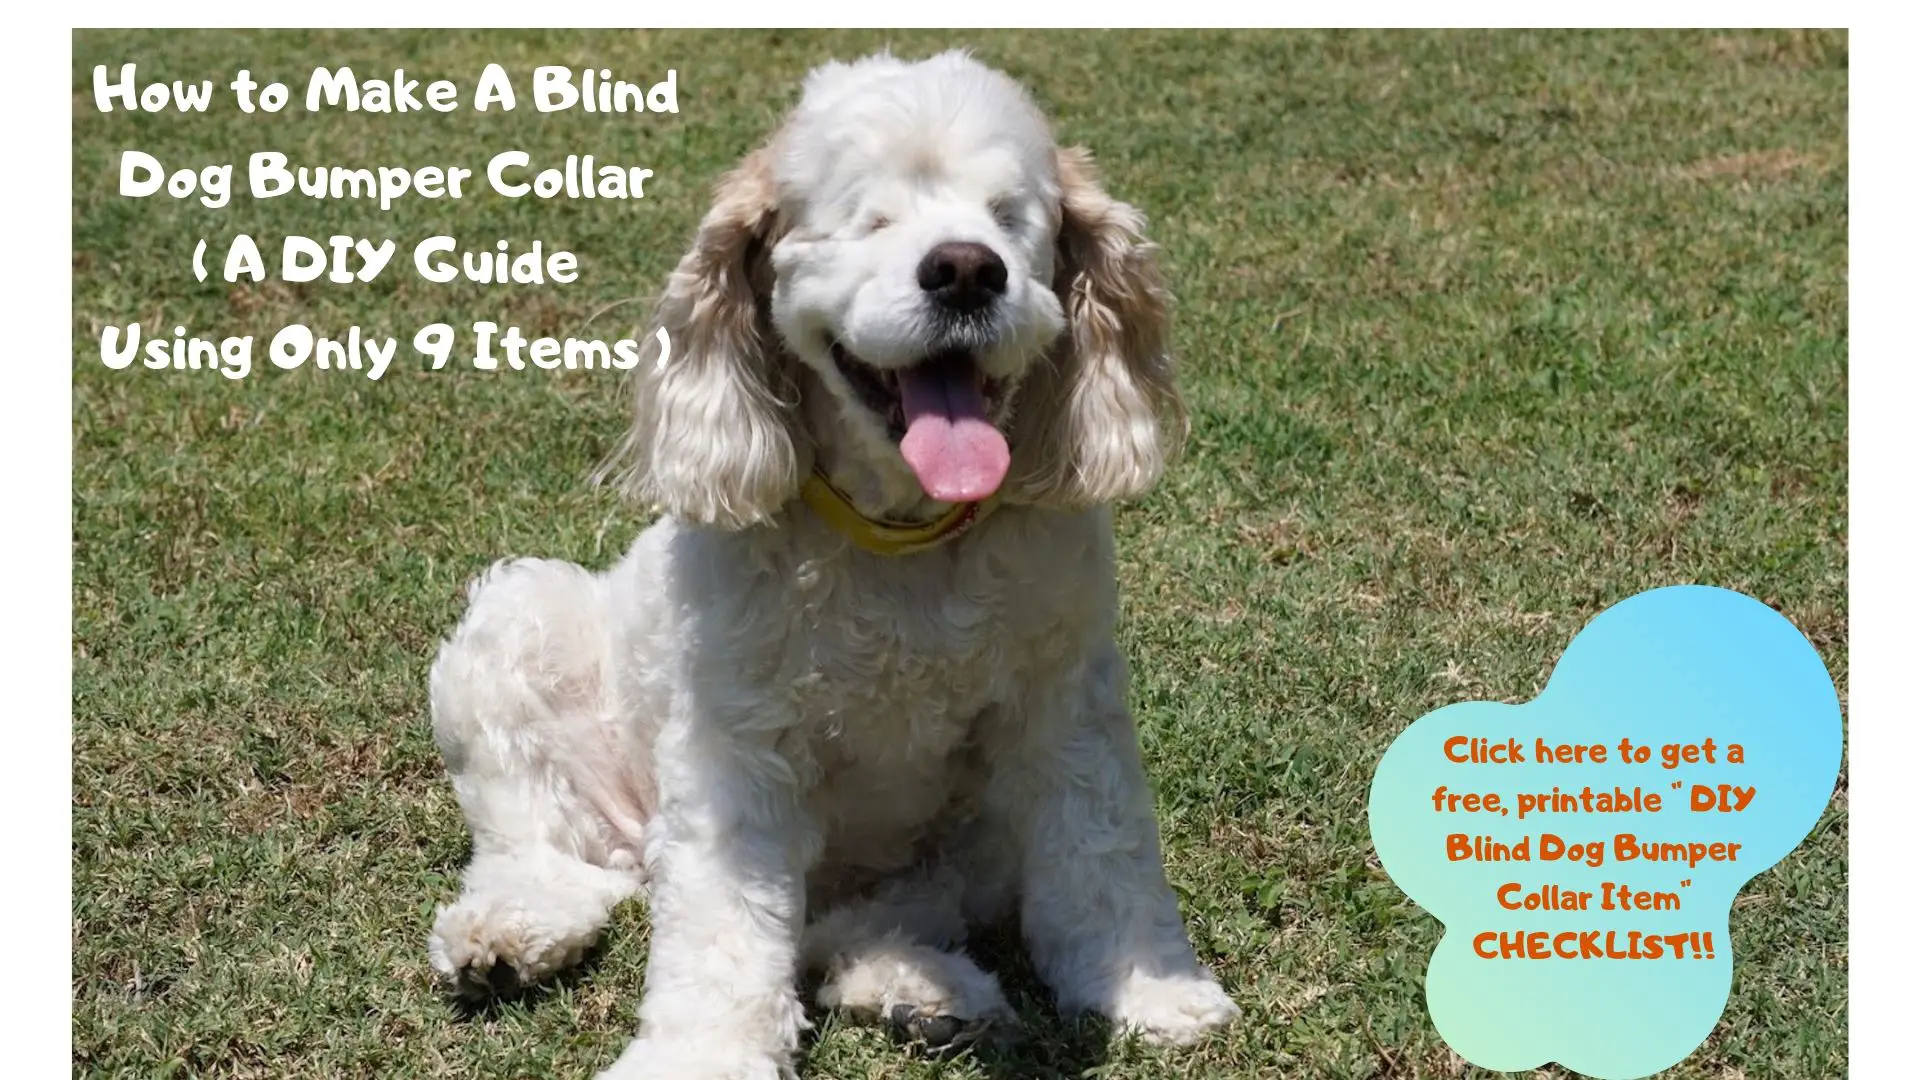
How to make a blind dog bumper collar
Just like how blind people need a walking stick to help them avoid running into obstacles and hurting themselves, our blind four-legged best friends need a similar tool as well.
A bumper collar is an equivalent alternative of a walking stick, but for blind dogs. It will significantly boost their confidence, making them walk and explore their surroundings and thus, improving their quality of life.
Did you know that some dog owners put their dogs to sleep when they become blind? I was very heartbroken when I read that, so I’ve decided to make this simple and affordable guide to help people see the solution and be able to implement it.
Today, I want to help you make a bumper collar for your blind dog in seven steps using only nine items. Without any further ado, let us start explaining how to make a blind dog bumper collar.
Table of Contents
How to make a blind dog bumper collar: Step number one
What do I need to make a bumper collar for my blind dog?
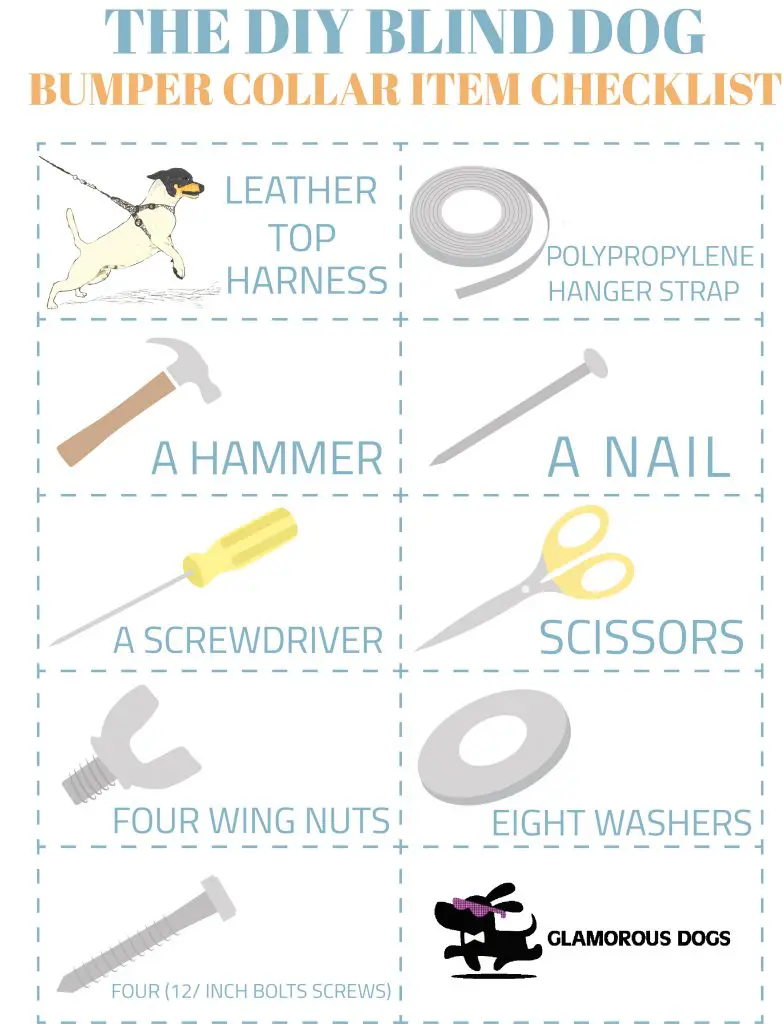
The nine things that you’re going to need in order to be able to
- A top harness that has leather a piece or a leather top harness.
- Polypropylene Hanger Strap.
- A Hammer
- A nail
- A screwdriver
- Scissors
- Four wing nuts
- Eight washers
- Four (1/2 inch bolts screws)
Stick until the end of the post to get a checklist that you can save and print to help you while you’re gathering all of the required items.
P.S: If your dog doesn’t have a harness, check out my Dog Training Harness: Ultimate Guide blog post to know how to get the perfect harness size for your dog. And if your are searching for grooming tools also, check our guide on The Best Dog Grooming Shears You Can Get in 2020 – Buyer’s Guide
Before we start making the bumper collar, check out this blind dog walking around with their DIYed bumper collar.

How to make a blind dog bumper collar: Step number two
Prepping the harness
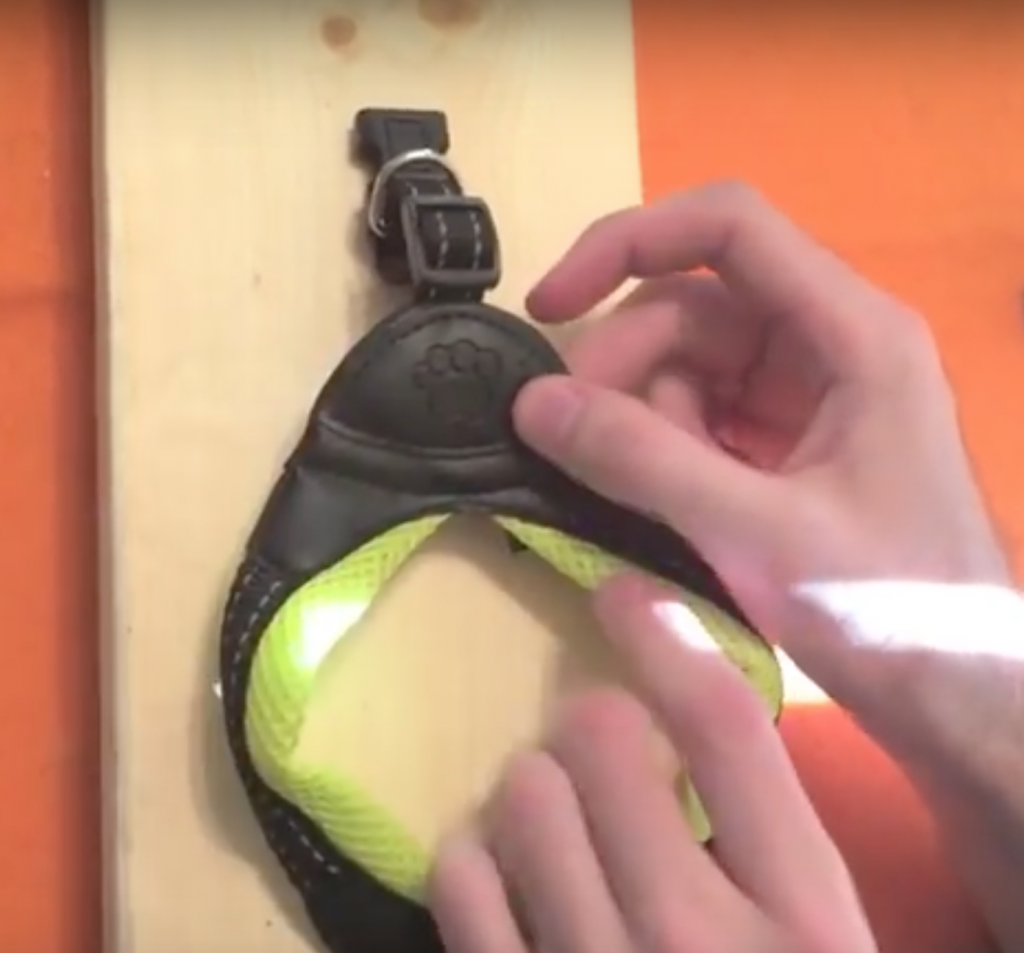
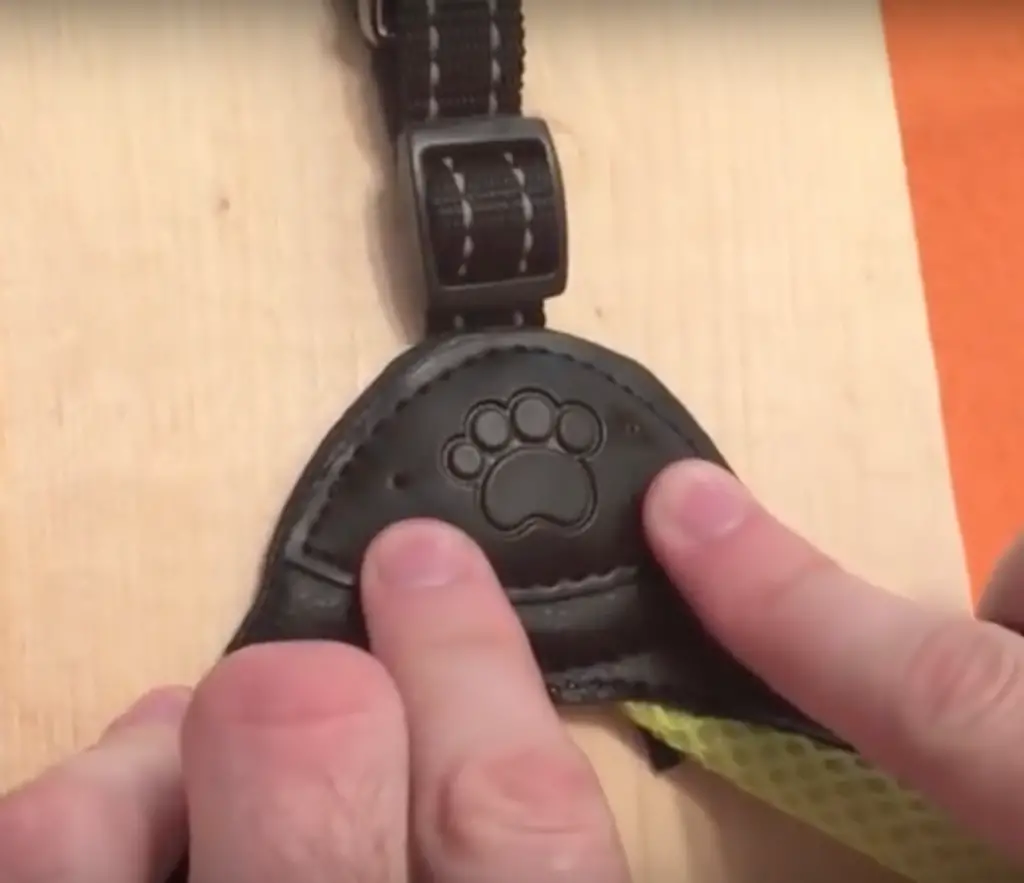
Grab the front harness and lay it down on the surface that you’re going to work on. Since we’re going to be using hammers and nails, you shouldn’t work directly on your table. Get a thick, sturdy object that you don’t mind ruining like a slab of wood or an old notebook.
After you lay down your harness on whatever you chose to work on, it is time to mark where the holes should be with a nail.Your markings should be equidistant from the center.

How to make a blind dog bumper collar: Step number three
Finish working on the harness
After marking them, it is time to turn the marks into holes. You can do so by hammering the nails into the harness until the nail goes through the fabric of the harness completely.
Now that the holes are drilled, flip the harness and grab one of your bolts and one of your washers.
Next, you’re going to put the bolt through the washer, then insert the bolt into one of the holes that we’ve just created and f
Do the same thing with the other hole, then flip the harness to face the other end of those two holes.
Insert a washer in each bolt protruding from the holes, then place a wing nut on each bolt and washer. Rotate each wing nut to tighten and secure everything.
P.S: You want the wing nut to be on the outer part of the harness; the area that you can see when your dog is wearing the harness and facing you.

How to make a blind dog bumper collar: Step number four
Finish working on the harness
Flip and rotate the harness to the other side and react what we did in step number two and step number three.

How to make a blind dog bumper collar: Step number five
Hanger strap prep
Get the polypropylene hanger strap because we’re going to measure how much of hanger strap we’re going to need. To do that, get your dog or go to them and measure out approximately how much hanger strap you’re going to need.
You can do so by measuring wear bolts are going to be when your dog is wearing the harness. Us a marker to mark your measurements or know how many whole your measured strap has. You’ll need to cut two equal hanger straps of the desired length.
Now that you have the two hanger straps that you’re going to need, it is time to lay it on the harness where the bolts and wing nuts are.
Make the first hole opening of the hanger strap be on one of the bolts.
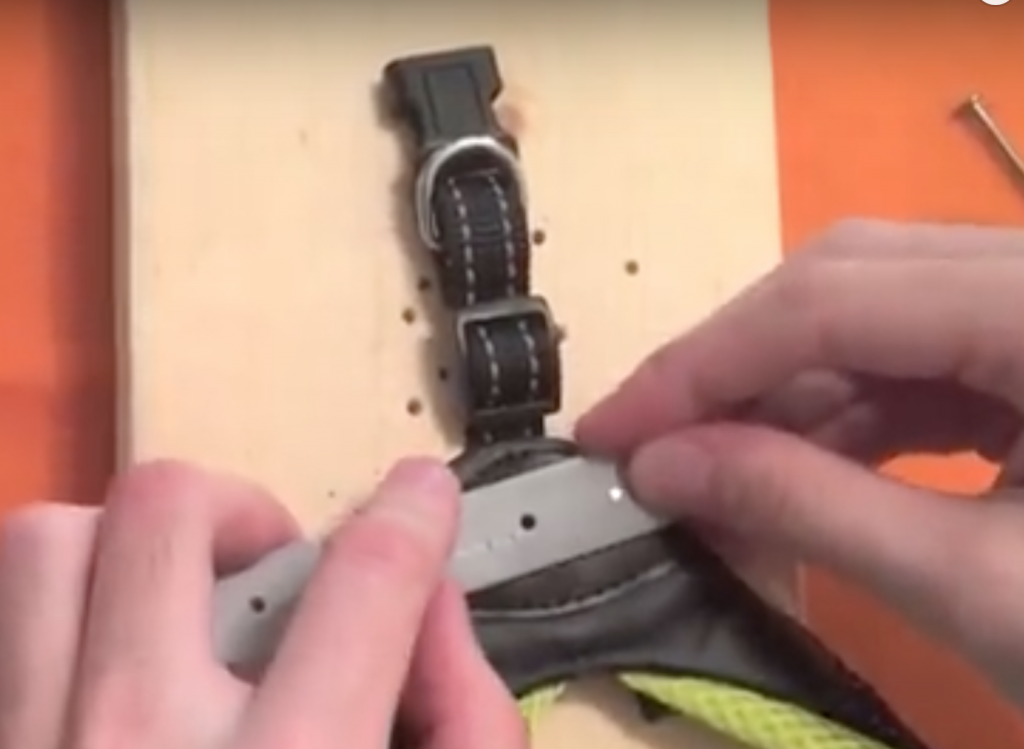
Pick up a nail to make the first (already existing) hole of the hanger strap a bit bigger.Then, place the nail on top of the marked spot of the hanger strap where the second hole should be and hammer it to create the hole.
Grab the second hanger strap and align it with this one so the second hole you create is intentional to that of the first hanger strap. Don’t forget to make the first hole a bit bigger with the nail. Finally, use your scissors to round up the ends of both hanger straps.

How to make a blind dog bumper collar: Step number six
Finish the hanger strap
Repeat step five to the other side of both hang straps that are going to be attached to the other two bolts on the harness.

How to make a blind dog bumper collar: Step number seven
Attaching the hanger strap to the harness
Now, it is time to attach the hanger strap to the harness! Twist both wing nuts and insert the holes of the hanger strap into the bolts. Grab the second hanger strap piece and insert that as well, then secure them down by placing the wing nuts back on top of them and twisting the.
Flip the harness and repeat that process with the other ends of the harness straps. After you do that, flip the leash ( the side of the bolts where there are no wing nuts attached to them) and screw the bolts tighter using a screwdriver.
We’re almost done because all of that is left for you to do is to clip the harness, then bend the hanger strap ends a little bit in an outwards direction to create the shape of a loop.
Congratulations, you’ve just finished making your four-legged best friend a collar bumper!
As we promised you, here is your free “The DIY Blind Dog Bumper Collar Item” checklist! We’ve also created a High-Resolution pdf for you that you can download here and use it while you’re making the collar.
We know some of you don’t have the time to DIY, which is totally fine! You can still get it ready-made with our Halo Collar for Blind Dogs here.
We’ve also provided a PDF version of this guide so you can print it and check it while working on the collar without having to keep your phone or computer nearby. Download it for free here!
No registration required!

That’s it for today’s post. I hope this DIY post helps you make your dog’s life a little bit easier and immensely improve their quality of life.
If you have any questions regarding how to make a blind dog bumper collar, then feel free to leave them in the comments down below.

